Last updated on July 30th, 2025 at 10:32 pm

A bullet journal can be an incredibly powerful tool for organization, productivity, and self-reflection.
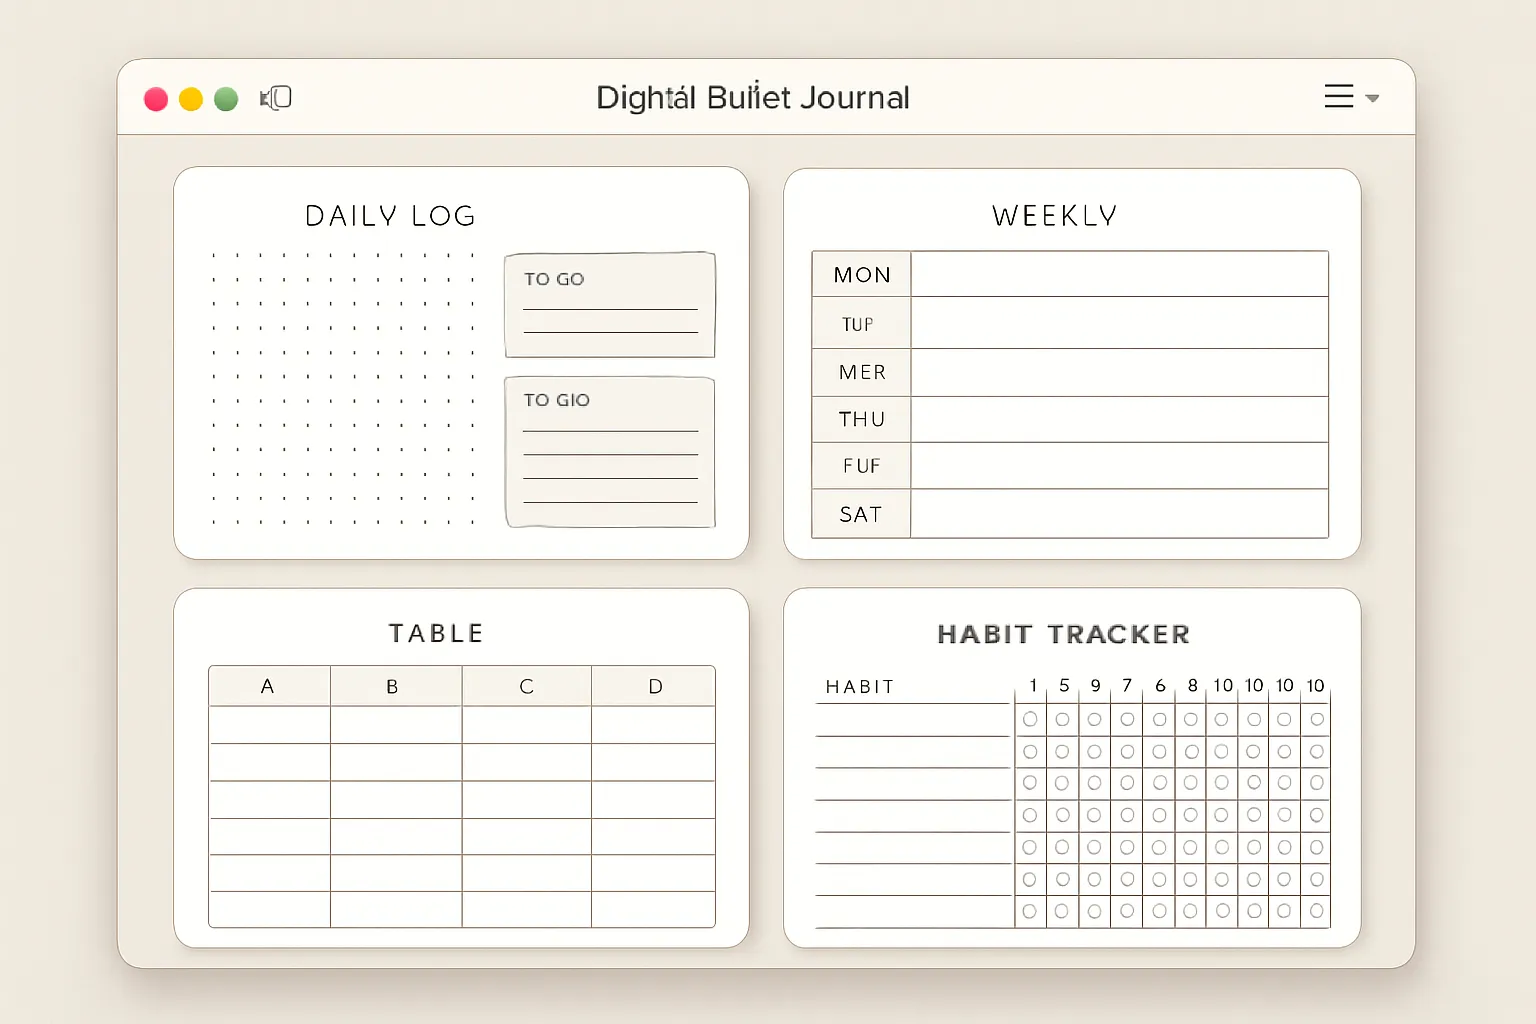
While traditionally a pen-and-paper affair, creating a digital bullet journal in Apple Keynote offers unique advantages like easy editing, infinite customization, and interactive navigation.
This guide will walk you through the process of designing a functional and aesthetically pleasing digital bullet journal using Keynote.
Table of Contents
I. Getting Started with Keynote Setup
To begin your digital bullet journaling journey, you’ll need to set up Keynote properly.
A. Initial App Setup
First things first, download Keynote from the App Store. It’s free for both iPad and Mac users, making it an accessible option for many.
Once installed, launch the app. You’ll be prompted to choose a presentation template; select a blank presentation to give yourself a clean slate.
Next, modify the document settings. A crucial step is to set up a custom page size.
US Letter sizing (8.5 x 11 inches) is highly recommended as it’s a standard and familiar dimension that will translate well if you ever decide to print your journal. This is also key for creating a digital bullet journal.
B. Page Configuration
After setting your overall document size, you’ll want to configure individual page dimensions for optimal iPad writing without zooming.
This ensures a comfortable and natural writing experience. You can adjust the background color of your pages; a white to gray gradient or custom colors can provide a pleasant aesthetic.
For a more tactile feel, consider the option to add custom textures for a realistic paper feel, mimicking the physical bullet journal experience.
II. Creating the Basic Journal Structure
With Keynote set up, it’s time to build the fundamental framework of your bullet journal.
A. Layout Design Planning
Before diving into Keynote, it’s beneficial to sketch your bullet journal structure. This pre-planning helps visualize your layout and prevents rework.
Decide on your preferred orientation (horizontal vs. vertical format), and crucially, plan tab locations and your navigation system.
Think about how you’ll move between sections. Lastly, determine whether you prefer a dated or undated format; an undated journal offers more flexibility.
For those wondering how to start a simple bullet journal or how to start a minimalist bullet journal, this planning stage is vital for a clean design.
B. Two-Page Notebook Layout
To emulate a physical notebook, insert rounded corner squares for page covers. Create the first square as a page cover to give the impression of an opened notebook.
Following this, add blank pages after the cover page. Keynote’s color tools allow for extensive customization; use the color picker and color wheel to personalize your pages.
If you’re pondering how to make your own bullet journal with a unique look, this is where you start.
C. Adding Depth and Dimension
To make your digital pages feel more realistic, apply shadow styles to give pages realistic depth. This simple touch can dramatically improve the visual appeal.
Duplicate pages to create a stack effect, further enhancing the illusion of a multi-page notebook. Finally, add page dividers and visual separators to organize content within your journal.
III. Essential Bullet Journal Components
Now, let’s incorporate the core elements that make a bullet journal functional.
A. Index and Navigation System
Every good bullet journal needs an index. Create a master index page as a table of contents. Utilize Keynote’s slide organization features to set up hierarchical slide organization for easy access.
Most importantly, include navigation symbols and hyperlinks to create an interactive index where you can click to jump to specific sections.
This is a key digital advantage, making it easier to navigate than a physical journal. Learning how to make a bullet journal index is crucial here.
B. Future Log Setup
The future log is for long-term planning. Design monthly overview sections to get a bird’s-eye view of your year.
Create space for important dates and deadlines, and plan ahead for birthdays, appointments, and projects.
This helps you manage upcoming events effectively. For those wondering how to use bullet journal for project management, the future log is a great starting point.
C. Monthly Log Creation
The monthly log provides a snapshot of the current month. Design calendar layouts using tables within Keynote.
Add days of the week headers and include space for monthly goals and habit tracking. This section is perfect for tracking progress and setting intentions.
If you’re curious how to bullet journal for a month, this is your go-to section.
D. Daily Log Pages
The heart of the bullet journal, daily logs. Create daily task templates to streamline your daily planning. Use Keynote’s shape tools to add checklist formats.
Finally, include space for notes and reflections, allowing you to capture thoughts and insights throughout your day.
For those wondering how to take meeting notes in bullet journal or how to put your ideas in bullet journal, these pages are ideal.
IV. Advanced Design Elements
Elevate your digital bullet journal with more sophisticated design elements.
A. Creating Tables and Grids
Keynote’s table function is incredibly versatile. Use Keynote’s table function for calendars and other structured layouts.
You can easily insert columns and rows as needed. For a more traditional bullet journal feel, create graph paper style layouts by adjusting cell sizes.
To ensure precision, add reference squares for perfect grid alignment.
B. Habit Tracking Systems
Habit tracking is a core bullet journal feature. Design beautiful tracking tables using Keynote’s table tools.
Use semi-transparent colors for filled cells to visually represent completion. Create different tracking categories (daily, weekly, monthly) to suit your needs.
For consistency, copy and paste cell attributes across your tracking tables. This is where you master how to do a habit tracker in a bullet journal. You could even design a tv show tracker bullet journal here!
C. Custom Shapes and Elements
Keynote’s geometric shapes tool is powerful for customization. Use the geometric shapes tool for design elements like dividers, frames, and accents. Create custom bullets and symbols to personalize your task lists.
Add decorative elements and borders to enhance the aesthetic appeal of your pages. Finally, insert rectangles for text boxes and sections to organize your content clearly.
For artistic individuals, this is where you explore bullet journal doodles how to and how to draw bullet journal headers.
V. Interactive Features and Functionality
The digital format truly shines with interactive features.
A. Hyperlink Navigation
This is a game-changer for digital bullet journaling. Add clickable navigation symbols to move between sections quickly.
Link pages together for easy movement throughout your journal. Create an interactive index with clickable sections so you can jump to any part of your journal with a single tap.
Always test hyperlink functionality before finalizing your journal to ensure a seamless experience. This is crucial for understanding how to use bullet journal effectively in a digital format.
B. Template Creation
To save time and ensure consistency, save reusable page templates. Create master templates for different page types, such as daily logs, monthly overviews, or collections.
Over time, you’ll build a template library for future use, making it incredibly efficient to set up new months or sections. This is key for how to make a digital bullet journal that’s truly efficient.
VI. Customization and Personalization
Make your bullet journal uniquely yours.
A. Visual Design Elements
Personalization is key to a bullet journal you’ll love using. Add custom colors and themes that reflect your style. Include digital stickers and decorations to add visual interest. Experiment with washi tape effects and embellishments for a touch of whimsy.
Most importantly, create consistent visual branding throughout your journal to give it a cohesive look.
If you’re wondering how to decorate bullet journal or how to use washi tape in bullet journal, this section is for you. You can even design your mood tracker bullet journal here.
B. Collections and Special Pages
Collections are where your bullet journal truly becomes a personalized tool. Design habit tracker pages (like the ones discussed earlier). Create goal-setting spreads to outline your aspirations.
Add brain dump pages for free-form thinking. Include project tracking sections to manage ongoing endeavors.
You can also design gratitude journal pages for daily reflections. Consider creating specific sections like a tv show tracker bullet journal or a page for how to write quotes in a bullet journal.
VII. Organization and Structure Management
Maintaining an organized digital bullet journal is essential for its long-term utility.
A. Slide Organization
Keynote offers robust organizational features. Use Keynote’s indent feature for hierarchical organization of your slides, creating clear sections and subsections.
Group related pages together to keep your content neat. Create a dedicated “Past Logs” section for completed pages, ensuring your current content remains easily accessible. Lastly, organize current vs. future content logically.
B. Content Management
Drag and drop functionality makes reorganization simple. Drag and drop pages for reorganization as your needs evolve.
Fold pages beneath relevant sections to declutter your main view. Always keep the most important pages easily accessible, ensuring a smooth workflow.
VIII. Export and Usage
Once your bullet journal is complete, it’s time to put it to use.
A. Exporting Options
To make your digital bullet journal truly portable, export it as a PDF with hyperlinks intact. This is crucial for maintaining the interactive navigation you’ve built.
Before exporting, ensure print builds and backgrounds are enabled if you intend to print any pages. Always test functionality after export to confirm all hyperlinks work as expected.
B. Cross-Platform Usage
Your Keynote bullet journal isn’t limited to Keynote itself. Open exported journals in GoodNotes 5 or other popular note-taking apps, which often provide a more fluid writing experience with a stylus. You can also use directly in Keynote if preferred.
If you have existing resources, import bullet journal printables from external sources into your Keynote journal.
Finally, integrate with other apps as needed to enhance your workflow. This addresses questions like how to use bullet journal printables and how to use bullet journal app.
For those on other platforms, exploring how to make bullet journals on Android or how to create a digital bullet journal with Evernote or how to create a bullet journal in OneNote might be relevant alternatives, though this guide focuses on Keynote.
IX. Tips for Success
Maximize your digital bullet journaling experience with these best practices.
A. Best Practices
When starting, start with simple layouts before adding complexity. This allows you to get comfortable with the process.
Regularly test all interactive elements to ensure smooth navigation. Always keep backup copies of templates and your journal itself to prevent data loss.
Finally, plan navigation flow before implementation to create an intuitive user experience.
B. Workflow Optimization
Efficiency is key. Create templates once and reuse them whenever possible. Use consistent color schemes throughout your journal for a polished look.
Implement regular review and update cycles to keep your journal relevant and effective.
And remember, maintain flexibility for future modifications; your bullet journal should evolve with your needs.
This helps answer how to maintain a bullet journal and how to use bullet journal effectively.
Also Read:
- How to Use a Bullet Journal for Weight Loss?
- How to Use a Bullet Journal for Work?
- How to Use Washi Tape in Bullet Journal | Creative Ideas & Tips
- How to Write Neat in a Bullet Journal: Tips, Tools & Layout Ideas
- How to Make a Bullet Journal on Lined Paper: A Step-by-Step Guide
- How to Draw a Calendar in a Bullet Journal?
- How to Draw Banners for Your Bullet Journal: My Tried-and-True Methods
Conclusion
Creating a digital bullet journal in Keynote provides the flexibility and power of digital tools while retaining the personalized and reflective benefits of traditional bullet journaling. By following these steps, you can craft a functional, beautiful, and interactive journal that helps you organize your life, track your goals, and foster creativity.
What kind of spreads are you most excited to create in your digital bullet journal?