The joy of aesthetic journaling lies not only in the end result but in the process of creation itself.
Here, you’ll find a more detailed, step-by-step breakdown—with plenty of creative ideas—for turning blank pages into expressive works of art.
Feel free to mix and match steps or skip what doesn’t fit your style.
Table of Contents
25 Aesthetic Journaling Ideas
- Polaroid Memory Page – Stick polaroid-style photos with pastel borders and captions.
- Vintage Collage Spread – Use old newspaper clippings, tea-stained paper, and retro stickers.
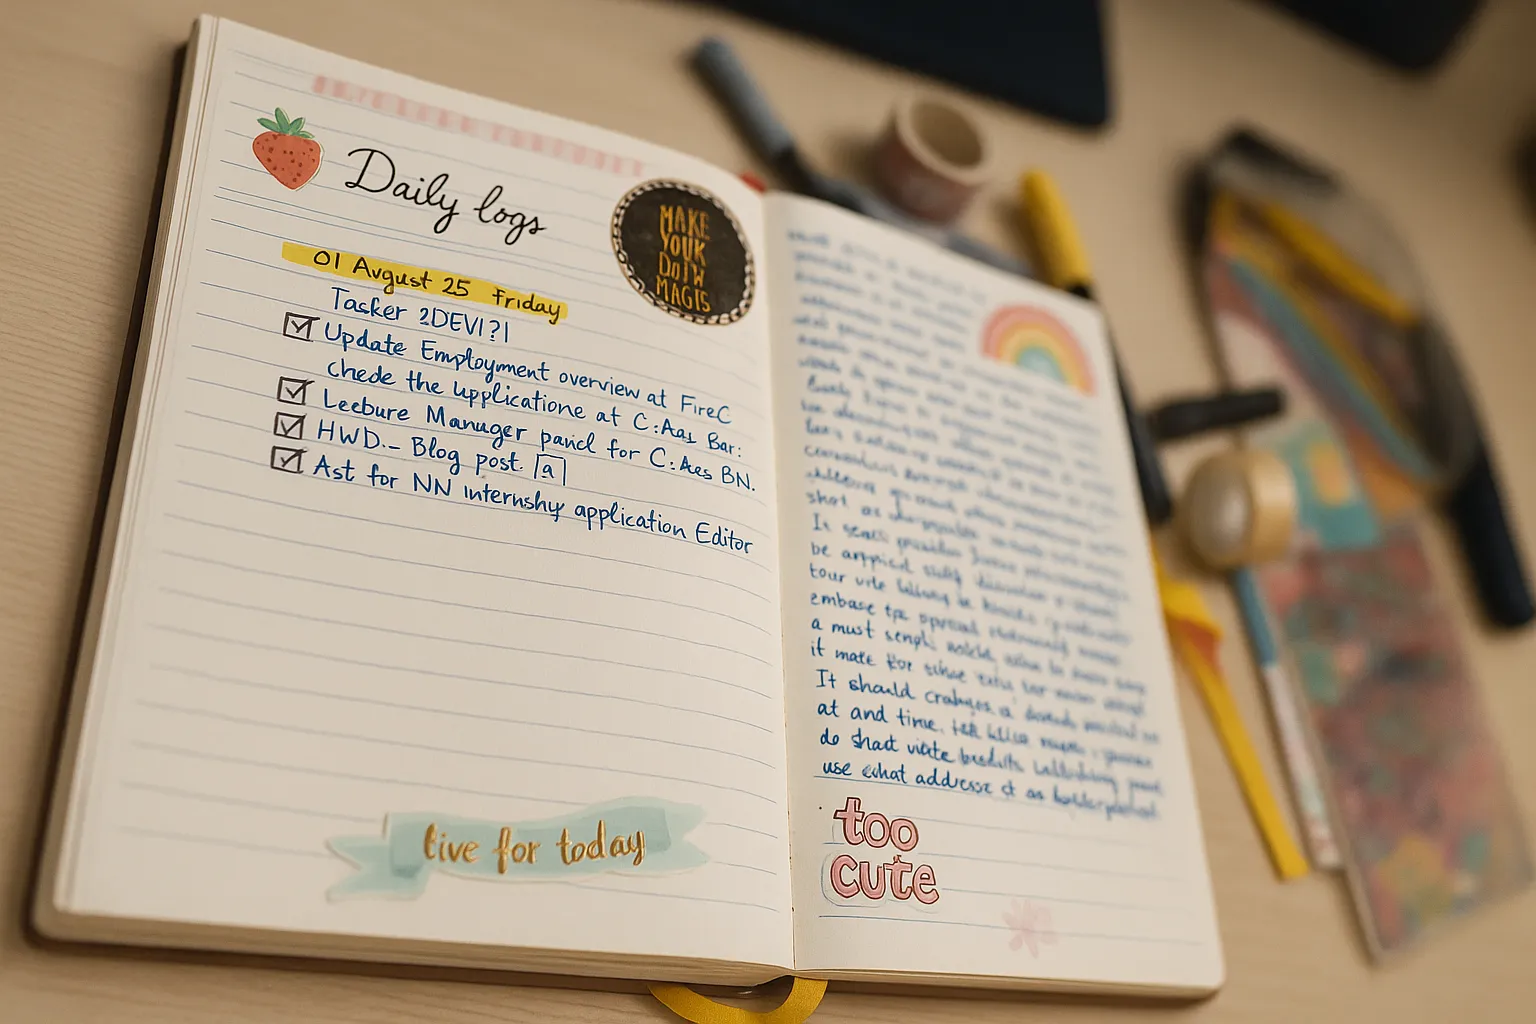
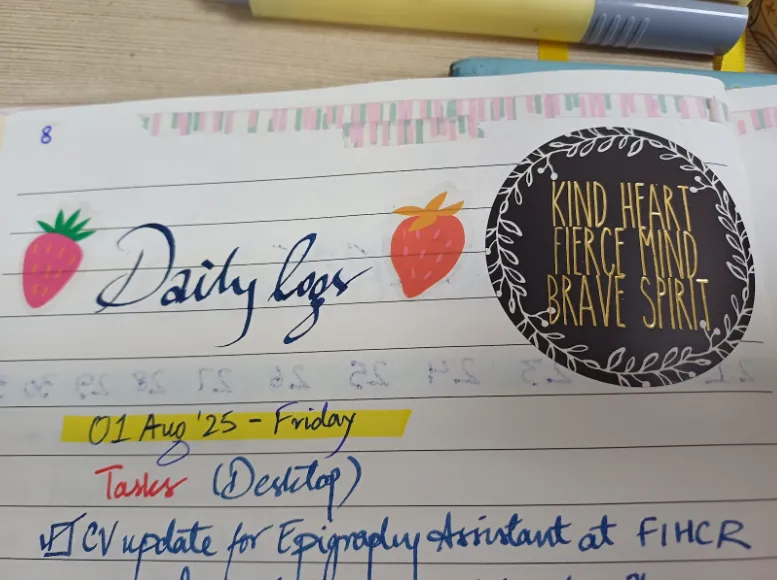
- Minimalist Daily Log – Clean lines, neutral tones, and lots of white space.
- Kawaii-Themed Weekly Spread – Cute doodles, pastel colors, and playful stickers.
- Botanical Garden Page – Sketch or use stickers of leaves, flowers, and nature quotes.
- Celestial Mood Tracker – Track your mood with star or moon icons.
- Dream Log with Galaxy Theme – Use deep purples and blues with stars and swirls.
- Scrapbook-Style Quote Page – Paste a quote, washi tape, and layers of torn paper.
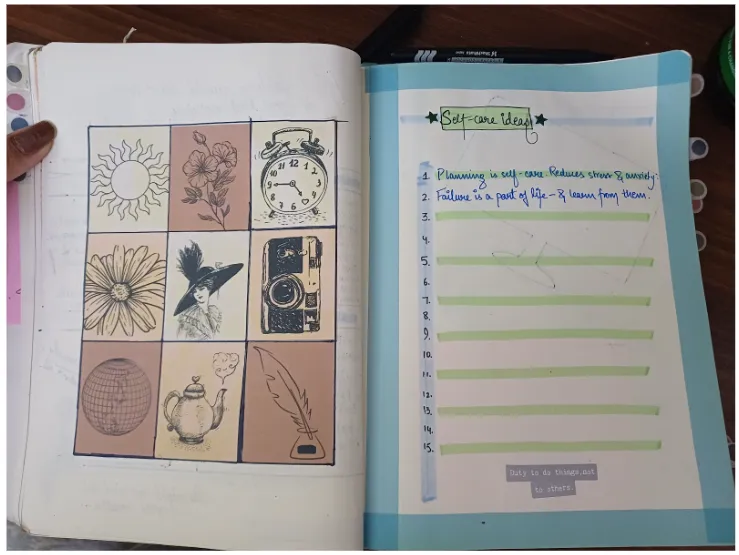
- Self-Care Routine Tracker – Add pastel checkboxes with skincare doodles.
- Coffee-Themed Journal Spread – Use browns, sketches of mugs, and coffee stains.
- Wanderlust Travel Spread – Maps, tickets, and tiny flag icons from different countries.
- Doodle-of-the-Day Page – A small box for a daily cute doodle.
- Sunset Color Palette Spread – Use orange, pink, and purple watercolors.
- Seasonal Vibe Pages – Decorate based on spring, summer, fall, or winter.
- Gratitude Log with Leafy Borders – Add calming greens and vines around your list.
- Stargazing Journal Entry – Draw constellations and write about your night thoughts.
- Aesthetic Bucket List – Write your dreams in soft script with cute icons.
- Recipe & Snack Review Page – Use food stickers and handwritten notes.
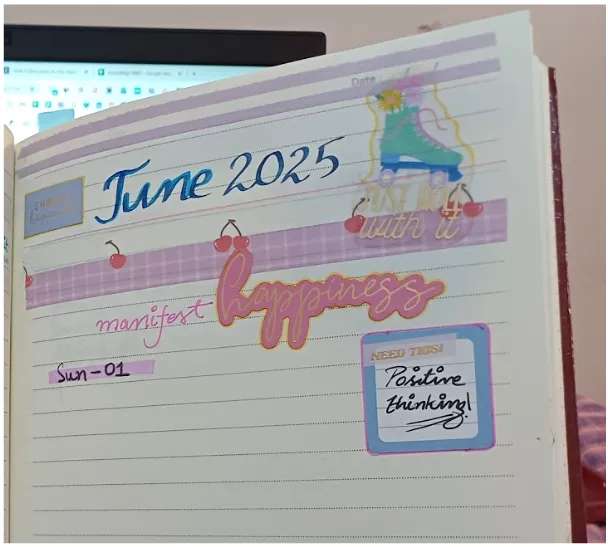
- Flower-Themed Affirmation Page – Combine flowers and positive phrases.
- “This Month I Loved…” Spread – List favorite books, movies, or memories.
- Soft Rainbow Weekly Layout – Pastel rainbow dividers for days of the week.
- Tape & Label Art Spread – Play with washi tapes and vintage labels.
- Playlist Journal Page – Stick album covers and write lyrics or thoughts.
- Rainy Day Reflection Page – Use blue tones, umbrella doodles, and cozy quotes.
- Aesthetic Vision Board – Glue magazine cutouts and motivational quotes with a soft theme.
Step-by-Step Guide to Make Aesthetic Journal Spreads
1. Set Your Intention or Theme
Before you lay down a single piece of tape, take a moment to decide the purpose or mood of your spread. This helps guide your design choices and ensures your journal feels cohesive and meaningful.
| Questions to inspire your theme: What do I want to capture—thoughts, plans, moods, gratitude? Is there a color palette that fits my mood? Do I want the spread to be minimalist or full of layers? Will this spread cover a week, a month, or a single day? |
| Example themes:Seasonal (autumn leaves, summery pastels) Self-care or mental health Travel or adventure Inspiration or motivational quotes Memory keeping Favorite songs, movies, or books. |
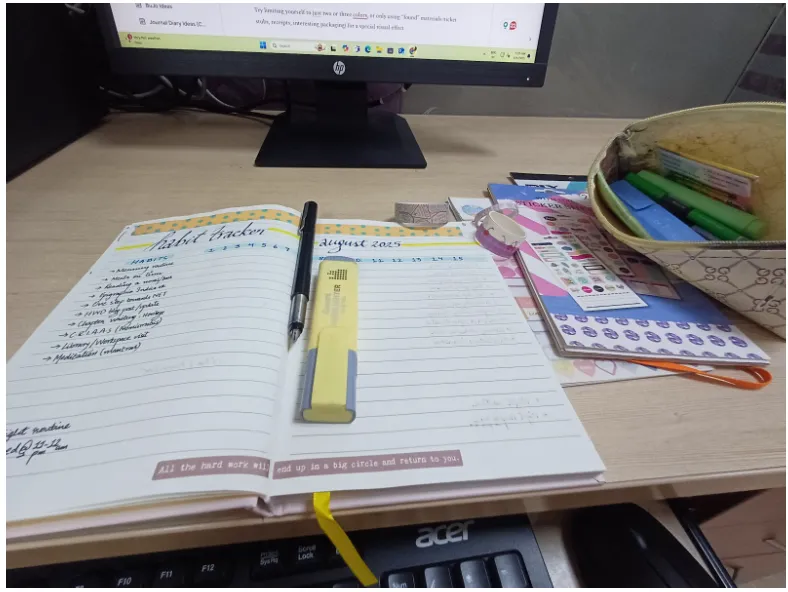
2. Gather and Arrange Your Supplies
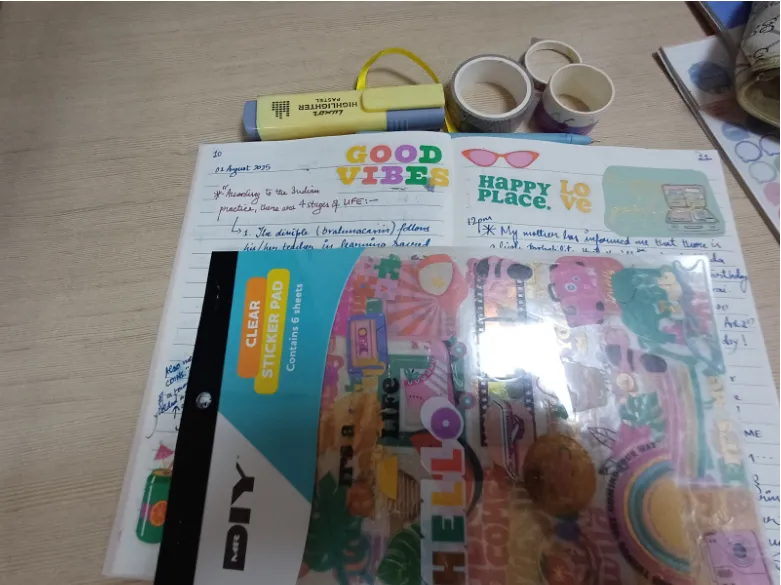
Now, collect your favorite journaling tools. Arrange them on your workspace so you can see your options—sometimes inspiration strikes just by spotting a beautiful sticker or tape.
Essential Supplies:
- Journal or notebook
- Washi tape
- Stickers
- Colored pens and markers
- Glue stick or double-sided tape
- Scissors
- Optional: highlighters, stamps, stencils, magazine cutouts, sticky notes
Creative Twist:
Try limiting yourself to just two or three colors, or only using “found” materials (ticket stubs, receipts, interesting packaging) for a special visual effect.
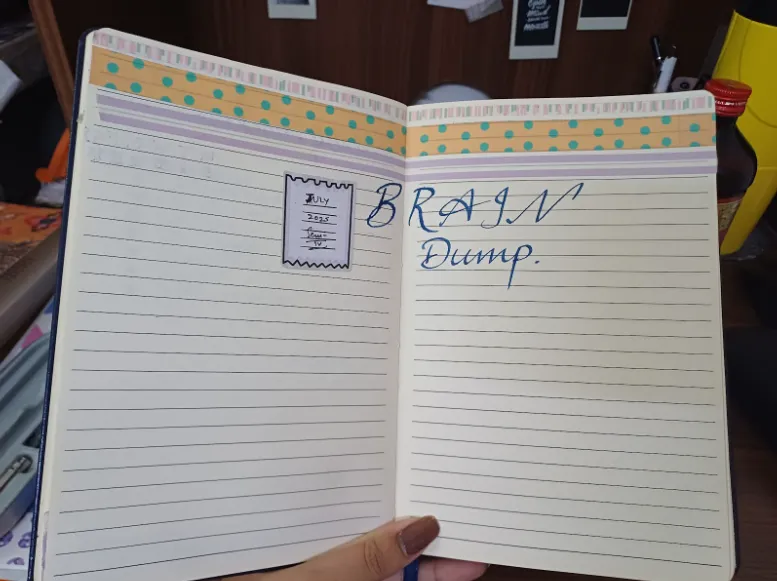
3. Start with a Washi Tape Border
Begin building your spread by adding a border with washi tape. You can:
- Lay a strip along the top or bottom edge for a classic look.
- Frame all four sides for extra definition.
- Tear the tape for a textured, organic border.
- Layer different patterns or colors together.
Creative idea:
Cut washi tape into flag shapes, chevrons, or stitch together pieces like patchwork for a quilted effect.
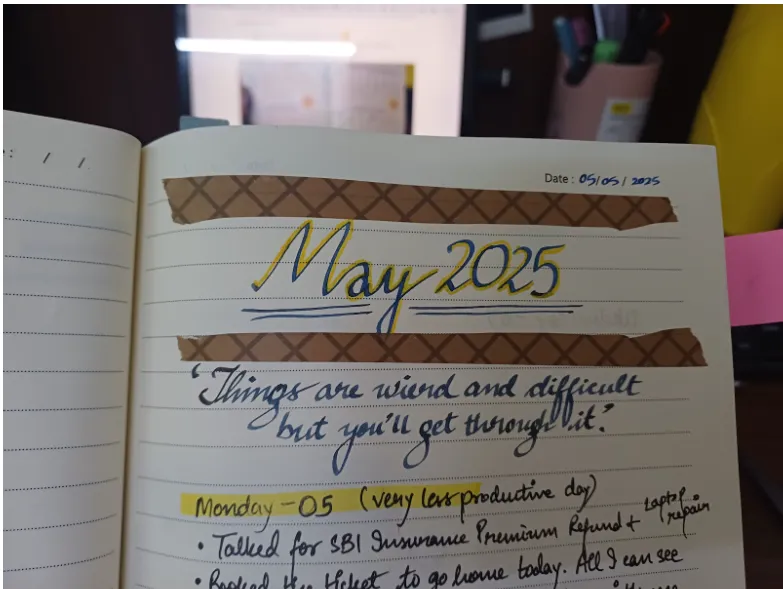
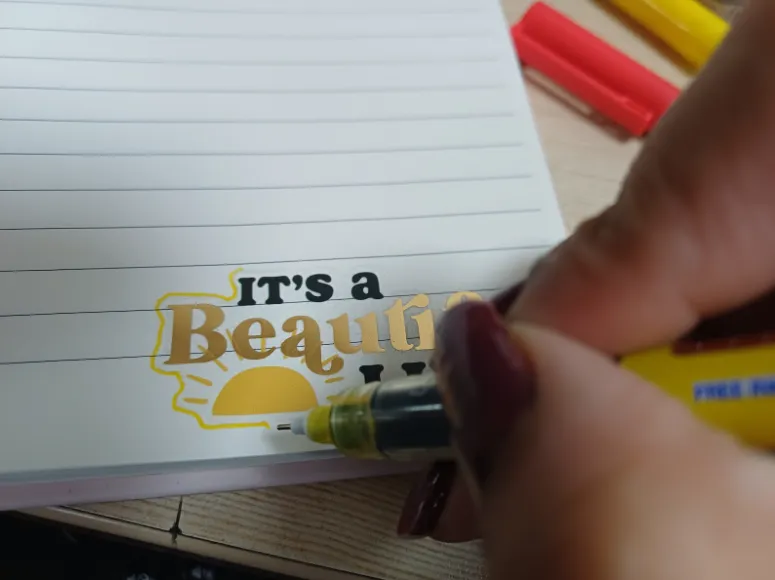
4. Add a Heading or Title
A bold heading instantly gives your spread focus.
- Hand-letter your title, use bubble letters, cursive, or stencils for emphasis.
- Try using stickers, stamps, or even cutting out printed letters from magazines.
- Add shadows, drop highlights, or outline your heading for extra dimension.

Pro Tip:
Write your heading on a separate scrap of paper or sticky note then tape it onto your spread—this lets you adjust placement until it feels just right.
5. Layer Decorative Elements
Now’s the time for pure creativity:
- Dot stickers or stamp motifs around the page—cluster them by the heading or scatter for balance.
- Use translucent washi or vellum for soft overlays.
- Add doodles: simple stars, leaves, hearts, or little icons that fit your theme.
- Try stamping lightly in the background for texture without clutter.
Creative idea:
Make a mini collage using ephemera (ticket stubs, photos, pressed flowers), then frame it with tape or draw borders around it. Layering textures is what brings spreads to life!
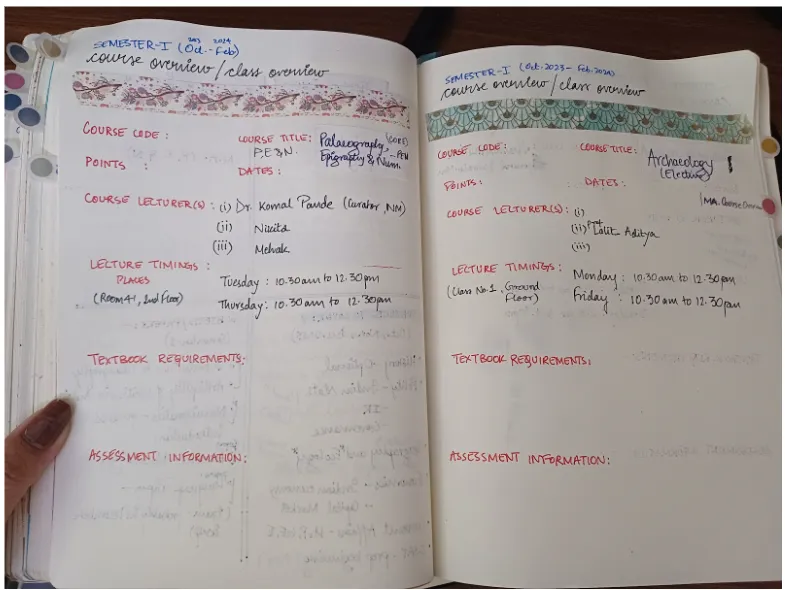
6. Plan Your Layout
Before writing, visualize where each element will go.
- Sketch a very light pencil grid to create sections (to erase later).
- Decide on columns, boxes, or organic clusters for writing.
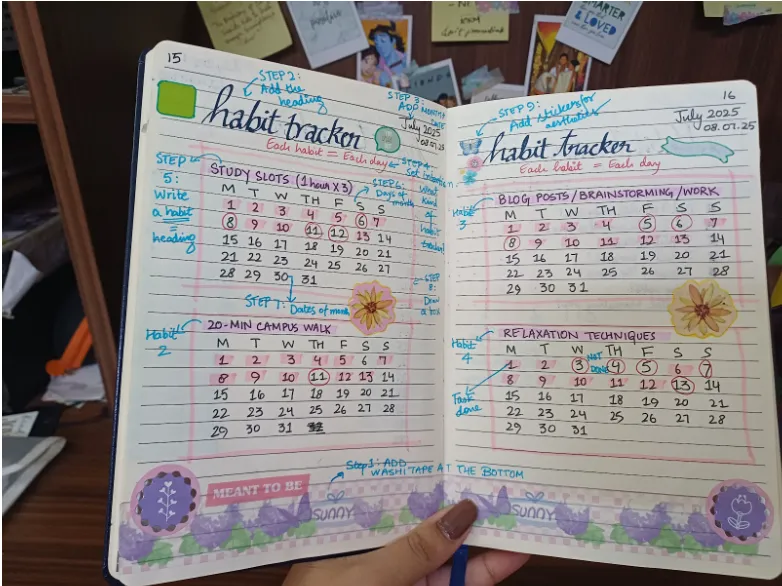
- If tracking habits, moods or listing goals, pre-draw boxes or trackers.
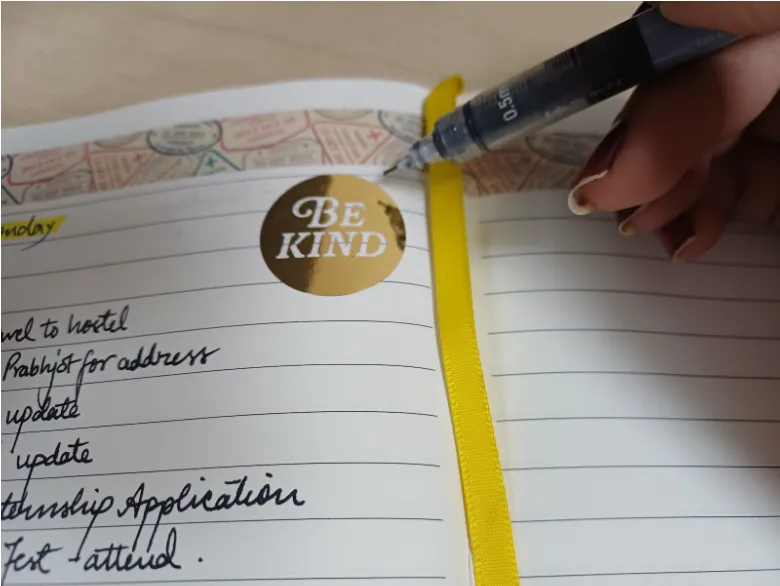
7. Begin Journaling or Planning
Start filling in your content—in whichever order feels best:
- Write a gratitude list, memory, or diary entry.
- Jot plans or to-dos in bullet points.
- Fill in trackers or calendars.
- Add doodles, borders, or highlights as you go, or circle important items in color.
Creative flow:
Sometimes starting with written content inspires further decoration—add embellishments afterward to complement what you’ve written.
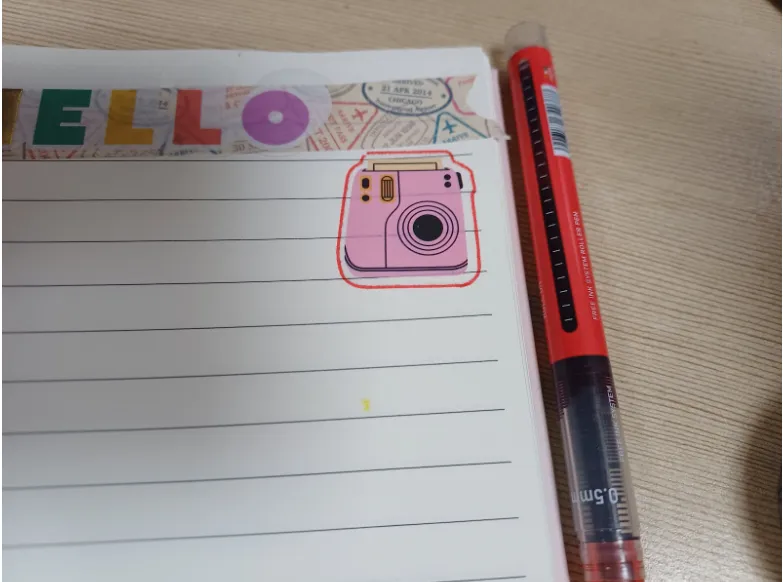
8. Add Final Flares
Step back and look for places to add tiny, finishing touches:
- Outline stickers or shapes to make them pop.
- Add mini illustrations or squiggles in empty spaces.
- Stamp the date or write it in a small box.
- Use gel pens to add metallic accents, stars, or dots.
9. Take a Photo or Scan
Capture your work—sometimes you’ll be surprised how different it looks on camera! Sharing your spread on social media or saving a digital copy makes it easy to revisit your favorite designs and progress as your style evolves. By now, I already have a lot of these digital scans!
Creative Spread Ideas (Step-by-Step Examples)
Example 1: “Self-Care Sunday” Spread
- Washi tape: Tear pastel washi and layer top and side edges.
- Heading: “Self-Care Sunday” in brush pen, outlined with a fine liner.
- Stickers: Place cozy icons (teacup, blanket, candles) around the edges.
- Sections: Sketch boxes for “Today’s Mood,” “Gratitude,” “Little Wins.”
- Journal: Write reflections in each box, adding tiny doodles by bullet points.
- Final touch: Scatter hand-drawn stars in blank corners.
Example 2: “Travel Memories” Collage Spread
- Theme: Last vacation.
- Washi border: Layer map-print and gold foil tape at the top and bottom.
- Heading: Cut out “PARIS 2025” from a brochure and glue above center.
- Collage: Paste ticket stubs, a city map, and tiny photos in overlapping layers.
- Writing: Add handwritten notes about favorite moments beside each item.
- Detail: Draw arrows and frames to connect photos and stories; pop in red and blue stickers for French flag colors.
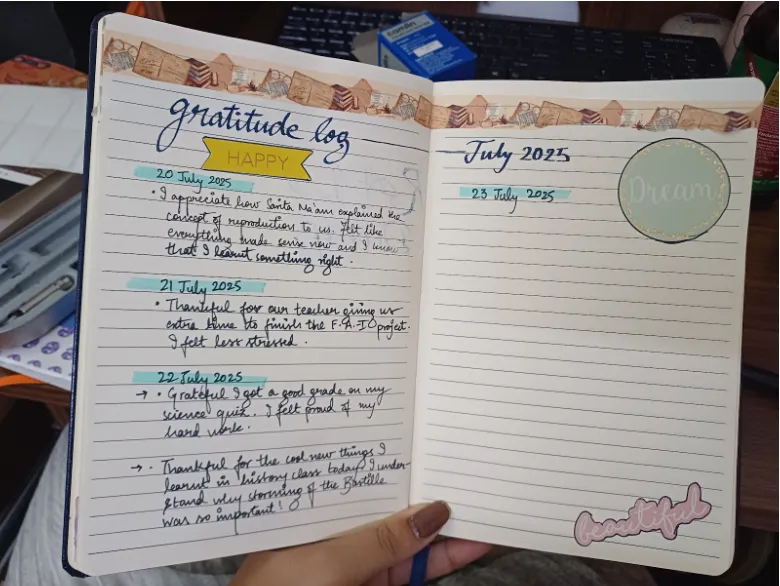
Example 3: “Gratitude” Minimalist Spread
- Border: Single strip of soft taupe washi along the left margin.
- Header: Simple “Gratitude” in monochrome sticker letters.
- Decor: Outline three boxes with dotted pen; place a minimalist leaf sticker in each.
- Write: Fill a box with a daily gratitude, using a different colored pen for each entry.
- Finishing: Dot two or three gold stars in leftover corners.
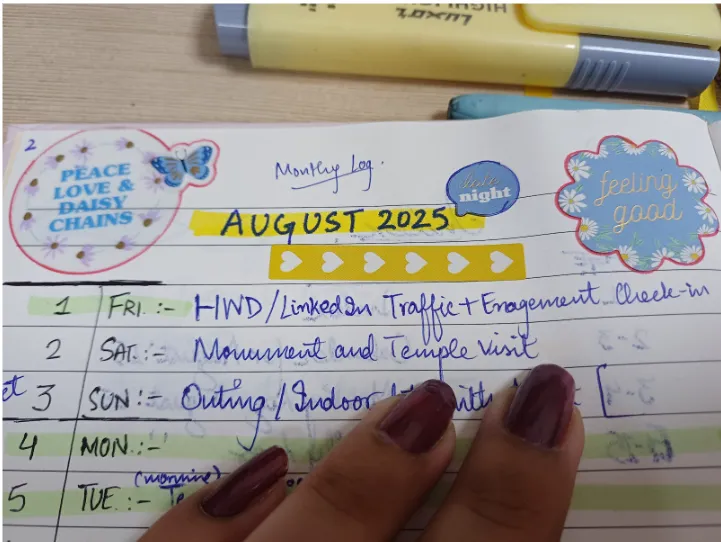
Example 4: “Weekly Plan” Themed Spread
- Theme: Botanical week.
- Tape border: Green leafy washi, framing the weekend section.
- Heading: “August Week 1” in watercolor, outlined with black pen.
- Layout: Draw columns for each day; add a space for notes.
- Stickers: Flower and leaf stickers as “dividers” between sections.
- Journaling: Add to-dos and notes in each day’s column.
- Accents: Sketch tiny vines around the edge of each box.
Tips to Boost Your Creative Process
- Rotate supplies: Use different materials each week to keep things fresh.
- Incorporate texture: Add fabric swatches, lace trim, or crumpled paper.
- Mix analog and digital: Print digital art, quotes, or photos to layer with hand-drawn elements.
- Seasonal inspiration: Let holidays or changing weather guide your palette and motifs.
- Collaborate: Swap materials with friends, or journal together for new ideas.
Also Read:
- 51 Cute Journal Ideas to Spark Your Creativity
- 21+ Bullet Journal Ideas: Creative Inspiration for Bujo Enthusiasts
- 10 Journal Diary Ideas: Unlock Your Creativity with Engaging Ideas
- 11+ Gratitude Journal Ideas & Prompts for a Happier Life
- 11+ Journal Writing Ideas: Unlock Your Creativity and Self-Discovery
- 11+ Wreck This Journal Page Ideas: Unleash Creativity and Embrace Imperfection
- 15+ Journal Ideas for Students
- 11+ Journal Drawing Ideas
- 11+ Vintage Journal Ideas
- 7 Daily Journal Ideas
Conclusion
Aesthetic journaling is as much about enjoying each creative step as achieving a finished product. Your process can be as planned or spontaneous as you wish—just trust your instinct, and remember that every spread is an experiment in self-expression. The more you play, the clearer your unique aesthetic will become.
So, next time you open your journal, don’t overthink—just start with a strip of washi, add a heading, decorate a little, and let your imagination do the rest. Every page is an invitation to create something beautiful and uniquely yours.